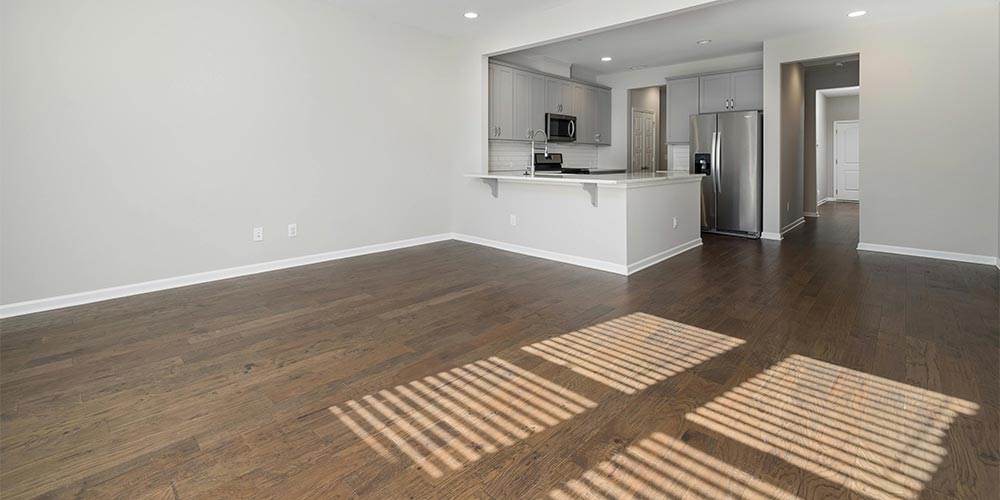
Moving house is an exciting milestone, but it can also be a stressful and overwhelming process. One of the most effective ways to streamline your move is by scheduling a house clearance before packing up. By carefully planning what to keep, donate, sell, or dispose of, you can reduce moving costs, stay organized, and start fresh in your new home. Here’s how to schedule a house clearance efficiently and stress-free.
Why a House Clearance is Essential Before Moving
Clearing out your home before moving offers multiple benefits. First, it significantly reduces the volume of belongings you need to transport, which in turn lowers moving costs. Moving companies often charge based on weight or the number of boxes, so decluttering in advance can lead to substantial savings. Additionally, an organized house clearance makes packing far more manageable. By removing unnecessary items beforehand, you avoid last-minute decisions and create a structured moving process. Lastly, clearing out unwanted or outdated items allows you to embrace a fresh start. Instead of cluttering your new home with things you no longer need, you can move in with a carefully curated selection of belongings.
Step 1: Planning Your House Clearance
A successful house clearance begins with early planning. Ideally, you should start at least a month before your moving date to give yourself enough time to sort through everything without feeling rushed. Walk through each room of your home and assess which items you want to keep, sell, donate, or discard. It can be helpful to create an inventory, noting down larger pieces of furniture, appliances, and storage areas such as the attic, basement, or garage. Having a clear plan in place ensures you stay on track and complete the process efficiently.
Step 2: Sorting and Decluttering
Once you’ve outlined your plan, the next step is to sort through your belongings methodically. Begin with the least-used rooms, such as spare bedrooms, storage spaces, or the attic, before tackling everyday living areas like the kitchen and living room. As you go through your items, consider whether you’ve used them in the last year. If the answer is no, it may be time to let them go.
Items that are still in good condition but no longer needed can be set aside for sale or donation. Selling valuable but unused items, such as furniture, electronics, or collectibles, can help offset moving costs. Websites like eBay, Facebook Marketplace, or local selling groups are excellent platforms for finding buyers. Donating items to charity shops, shelters, or community organizations is another great way to give your belongings a second life while helping others.
For anything that is broken, outdated, or beyond repair, responsible disposal is key. Recycling centers and waste removal services can handle unwanted items in an environmentally friendly way. It’s important to check local regulations, as some materials require special disposal methods.
Step 3: Hiring Professional Help if Needed
If the house clearance process feels overwhelming, hiring professionals can be a practical solution. House clearance companies specialize in sorting, removing, and disposing of unwanted items efficiently, saving you valuable time and effort. Many services also ensure that items are recycled or donated where possible, making them an environmentally friendly choice.
Additionally, if you’re dealing with a large amount of waste, a professional rubbish removal service may be necessary. This is particularly useful for bulky items, old appliances, or hazardous materials that cannot be disposed of in standard waste bins. Scheduling these services well in advance ensures that they are available when you need them, preventing last-minute complications.
Step 4: Scheduling and Finalizing the Clearance
To keep the process running smoothly, set a specific date for the house clearance well before your moving day. This allows enough time to complete the clearance, deep clean the property, and make any necessary repairs. If you are hiring professional services, confirm the booking and clarify the scope of their work, ensuring they understand which items should be removed and which should remain.
On the clearance day, stay present to oversee the process and provide instructions if needed. It’s helpful to keep a small bag of essential items—such as important documents, chargers, and valuables—separate from the items being cleared. Once the clearance is complete, do a final walkthrough of the property to ensure nothing important has been left behind.
Final Preparations Before Moving
After the house clearance is complete, your next step is to prepare for moving day itself. Pack an essentials box containing items you’ll need immediately upon arrival at your new home, such as toiletries, a change of clothes, and basic kitchen supplies. Clearly labeling all moving boxes by room will make unpacking much easier and prevent confusion.
If you have time, give your old home a final clean before handing over the keys. A tidy and empty house is not only courteous for the next occupants but also ensures you don’t leave anything important behind.
Conclusion
Scheduling a house clearance before moving is a crucial step in ensuring a smooth and stress-free transition. By planning ahead, decluttering systematically, and utilizing professional help when needed, you can reduce moving costs, stay organized, and set yourself up for a fresh start in your new home. Whether you choose to sell, donate, or responsibly dispose of your unwanted items, this process allows you to move forward without unnecessary clutter. With the right approach, house clearance can transform what might feel like an overwhelming task into a rewarding experience that simplifies your move and helps you start anew.
