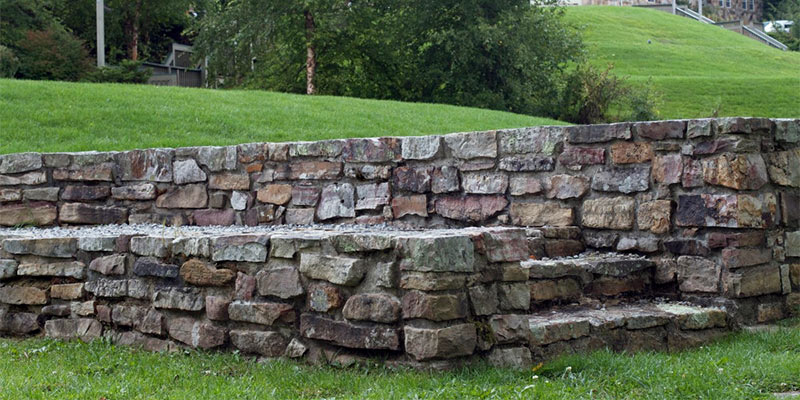
You could choose to have a stone wall as part of your upcoming landscaping project or you could be looking to have a more interesting wall. A decorative wall could add a sense of personality to your garden while at the same time being a functional essential. Here is a guide to help you add some foundations to your landscaping project.
Tools and Materials Needed
Laying the foundation just as you would do for the brick wall. For a double-faced, stone wall the minimum width should be 450mm and you should always remember that your footing must extend by 120mm on both sides. You will also need to mark this footing so as to determine the line every face of your wall will follow.
The Location
One great idea we got from the masons at stonemasonsglasgow.com is to construct a wall which does double duty, serving as an extra backyard seating, a garden border or a patio suggests. For you to have a uniform look around your patio, it’s advised to use cast concrete blocks.
Another excellent choice is the use of stone so as to construct a retaining wall to aid in leveling up your landscape. Many prefer the use of manufactured blocks to ensure that the wall’s height is uniform for leveling. Additionally, these blocks usually have grooves that are easy to fit.
Drainage
If you will build your retaining wall at the foot of a slope, you will need to have a proper drainage system to prevent rainwater from building up behind the wall and potentially damaging the wall. One of the easiest solutions is the addition of gravel as well as fabric-covered drainage pipes at the base. This fabric aids in preventing clogging so you will not have to unearth the pipes later to unclog them.
Step 1
Sort through the stones you already have and select some probable cornerstones. And if there are none that, you could shape one stone by chipping it with a stone axe or bricklayer’s hammer. Do not forget to put on your safety goggles and gloves when doing this.
Step 2
Pour mortar onto the footing and make a quoin at every end, on the lines you marked.
Step 3
Continue filling the line of stones which is between both ends. You could use a mixture of stones since they must not all be of the same height.
Step 4
Build up the ends and corners, just as you would do if you were laying a brick wall. Make sure the quoins are vertical by using a spirit level. Next, you will need to stretch a level line between both ends of the wall, about 300mm above the base. Move this line up the wall as construction continues – using it to guide you through the construction until you reach the desired wall height.
Step 5
Work on a single side of the wall up to about 500mm then move onto the other side of the wall and build it until both sides are level or just about level. If you like, you could use large stones which can change the height of the wall. There is absolutely no need for you to work from one end to the other.
Step 6
You will need to fit some metal wall ties at a distance not exceeding 450mm on the vertical and 900mm horizontally. You should fill the center with mortar and some small stone off-cuts as you build.
Step 7
If you have the desire to have your wall capped, there are numerous ways to do it, including using brick or slab. One popular method of capping is the “cock and hen” where you alternate small and large, upright-facing stones which shall be held in position by mortar. Before the mortar dries up completely, you need to scrape off any surplus with a trowel then brush your stones with a banister brush.
