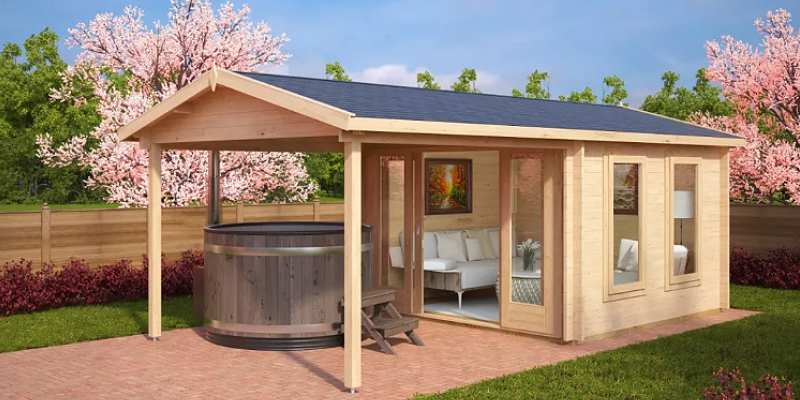
Adding a summer house to your garden is the perfect way to make use of that extra garden space in a way that can be adapted for loads of different purposes. Whether you want a home office, somewhere to sit and relax, a guest room or just some attractive garden storage, you can get the right oak summer house kits to do the job. But how do you go about building one of these kits into the finished article?
Step 1- Lay the foundation
As with any structure, the first step is the foundation. This is where you choose what to build your summer house on and there are two main options – concrete or a slab base. Concrete is more durable while a slab base is easier to move and reassemble if you decide you want to change things around.
Once you have decided on which foundation you want to use, you may want to get the ground prepared first. It needs to be as level as possible so that the foundation is laid flat and solid. If you are using slabs, you will want some ready mix concrete to add them to or if you are going with full concrete, then a concrete mixer to make your own and apply.
Step 2 – Construct the basic building
The next stage is to start the construction of the summer house. If you are using a timber frame kit, this is where you will start to assemble the various components as provided. If you are using something like prefabricated panels to make your summer house, the process is a little different as these often simply fit together.
It is best to have a clear plan to follow that you prepare before the construction side of the project starts. That means knowing where doors and windows will be, which way the summer house will face and also structural elements such as the type of roof. You may want to look at things like insulating the walls if you want to be able to use the room in the winter and that will often mean adding a drywall layer between the structure and the interior spaces.
Step 3 – Add internal finishing features
Once the basic structure is in place then the next area to look at is the surfaces within the summer house. If you have used an oak frame kit, for example, you will want to look at the floor. Do you want to add more wood to have a floor that fits in with the rest of the building or do you want to leave the foundation bare? What you plan to use the building for will likely play a part in this.
Also, look at the walls and any finishing treatments needed there. Do you want to add plaster to the walls to allow them to be decorated? Or do you want to leave them as they are if you aren’t insulating the building? This would be the stage that you would add whatever you have decided in this area.
Step 4 – Add windows and doors
The final step to creating a self-contained building is to add windows and doors to the spaces you created for them. Again, the type of windows and doors will depend on what you want to use the space for. As a habitable space that is used all year round, you will probably want to use double glazed windows and doors. But if it will be used just seasonally, then it might be a case of single glazed windows and a wooden door might do the job perfectly.
